


Let's Encrypt SSL Certificate is a Certificate Authority (CA) that enables you to create a free SSL certificate for your domain.
You can install it easily through Plesk by following these steps:
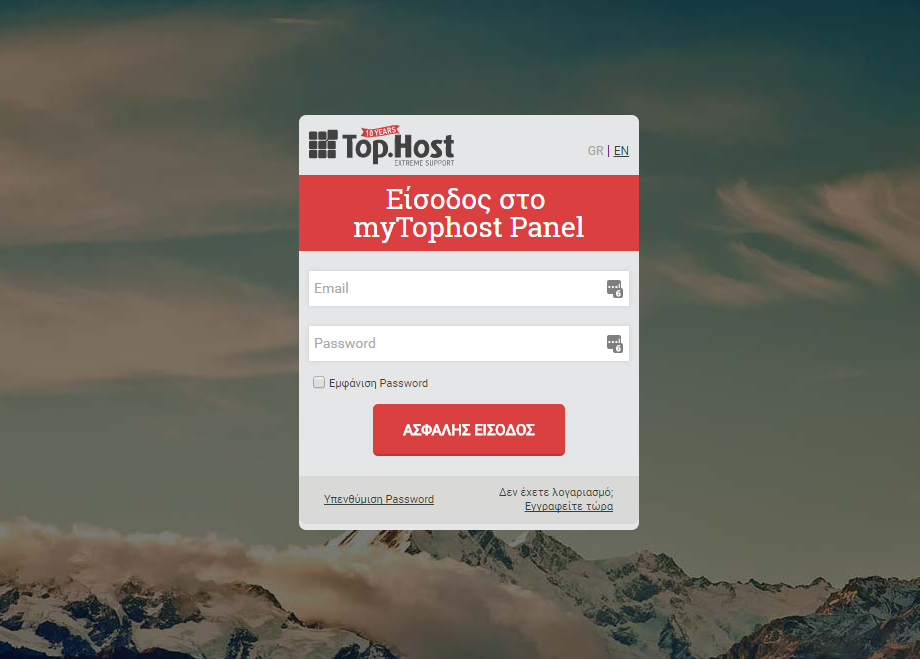
1. Log in to myTophost Panel and select Plesk Login to connect to Plesk of the package you are interested in.

2. In Websites & Domains tab, choose SSL/TLS Certificates.

3. In Entry-level protection category, click on Get it free button.

4. In the next window,

- Type your email address (may be used in emergency announcements or some key loss to resubmit)
- Check Secure the wildcard domain (including www and webamail), which includes www.yourdomain.com , the webmail and all the rest subdomains of your main domain, in case that they exist. Otherwise, you can choose only the instance you want to be secured:
- If you want to install SSL for www.yourdomain.com, check the box Include a "www" subdomain for the domain and each selected alias
- If you want to install SSL for webmail, check the box Secure webmail on this domain.
- Check Assign the certificate to mail domain, which includes IMAP, POP and SMTP service of your domain in case that it is necessary.
- Select on Get it Free
4. In order Let's encrtpt to be activated, a TXT record needs to be added in your domain's DNS zone. In case that DNS zone responds from the same server, TXT record is added automatically. Otherwise you need to manually add the corresponding TXT record in your DNS zone. Once TXT record has been added on the DNS zone, click on Reload and give some minutes for SSL to be issued.

4. Upon completion of the installation, there is a confirmation message (as shown in the following message) that indicates the SSL is successfully installed on your domain.


